
2.Plutonium Transfer and Ball Ladder
Line up Teams behind their cones: red, blue, yellow, green
Teach both games to begin, start one group on plutonium transfer, then when they’re done, they can start on one of the ball ladders.
Plutonium Transfer: A Team Building Activity
Your mission is to move the plutonium from the nuclear power plant to a safe storage facility.
Setup and Equipment.

Guidelines:
Guidelines:
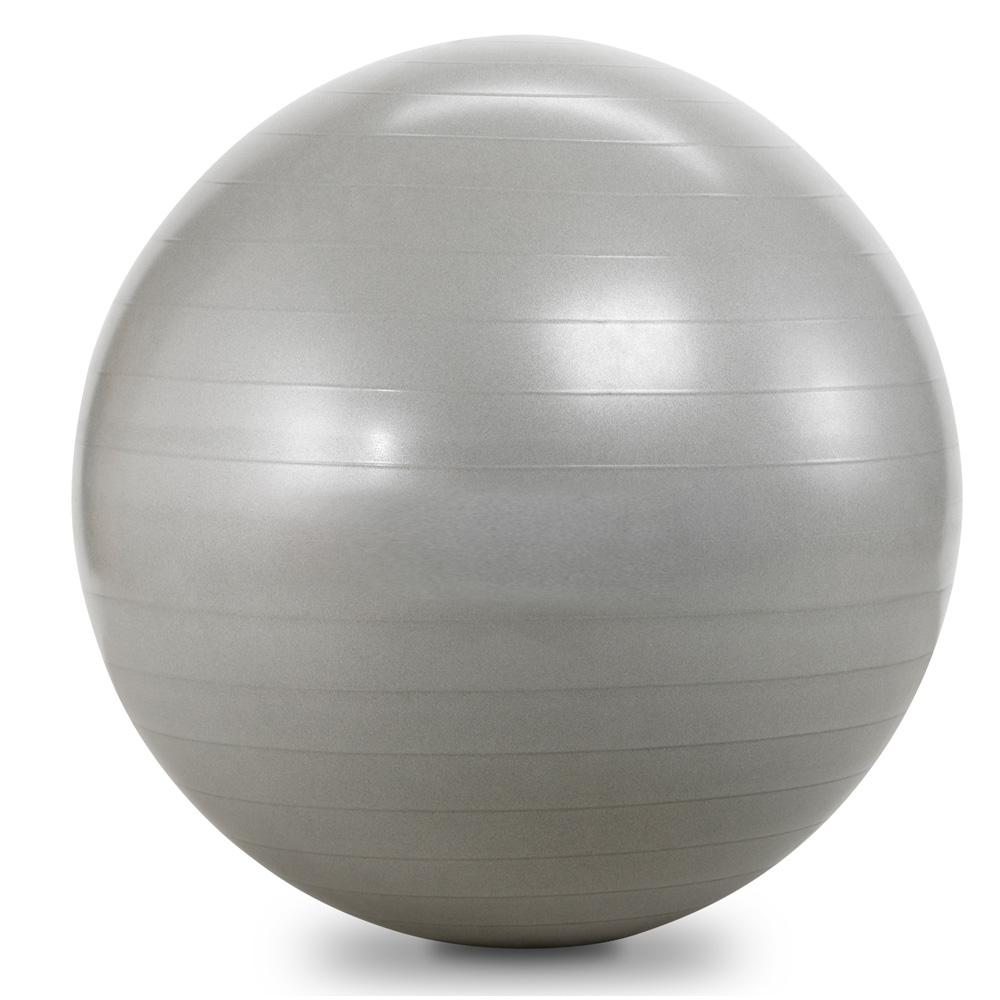
Variation: Use different sized balls.
__________________________________________________________
2. Ball Ladder: A Team Building Activity
Move the ball down the steps of the ladder.
Setup and Equipment.
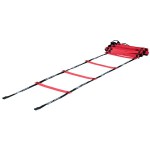
Guidelines
Limbo dancing is a dance that is originally from the island of Trinidad, although Hawaii is often mistakenly referred to as the birthplace of the Limbo dance.
Setup and Equipment.
Guidelines
Depending on Time: Leaders might want to have the Yellow and Green teams do the limbo and the Red and Blue teams hula hoop for a couple of minutes, then switch.
Setup and Equipment:
Guidelines:
Inclusion Tag: This is a variation of Blog tag
No equipment needed
● There are no safe bases in this tag game.
● Pick four people to be “taggers”. You may tag with your hand, using a gentle touch (shoulders
and below). Ready, Go:
● When you are tagged, join hands or elbows with your tagger. Now two people are taggers and
they move together in an attempt to tag more people.
● When the group has four people in it, it breaks into two groups of two and both groups
continue tagging and growing their group to a maximum of four.
● This continues until all or nearly all of the people in class have been tagged.
Knee Tag: Everybody It
Setup and Equipment: No equipment needed.
 Guidelines:
Setup and Equipment:
Guidelines:
Setup and Equipment
Guidelines

Juggling 1 ball: Throw – Catch, Throw – Catch
1. Throw and catch using one hand, then the other
2. Throw with one hand and catch with other
3. Throw, clap, catch with other hand
4. Throw, clap, clap, catch with the other hand
5. Throw, clap under leg and catch with the other hand and so on
5. Throw, turn all the way around and catch with other hand, etc.
Juggling 2 balls: 1. Throw – Throw, Catch-Catch
Three Balls; Throw – Throw – Catch – Throw – Catch
CUE: THROW-THROW-CATCH-THROW-CATCH-CATCH
Challenge: Under the leg and behind the back can be used to start a juggling sequence.
____________________________________________________________________
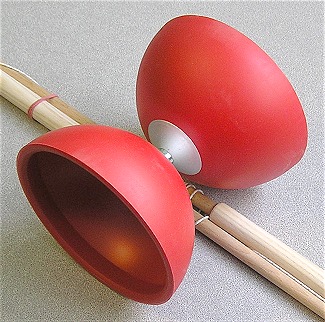
Diabolo
Equipment and Setup:
Practice with the teacher:
Guidelines: