Triple Shot Basketball

Triple Shot Basketball

Setup and Equipment:

  • For the teacher led demonstration chose three or four students

  • The demonstration is important especially for the second shot of the three shots. (Shooting from the spot you rebound from)

  • Each of the four teams has one basketball and a polyspot to designate an approximate free throw.

  • Another option for this game is to use the terms “recreational” and “competitive”for different games, this allows students to choose the game that is the best match for their skills.

  • In a typical Gym class four groups line up in back of the free throw line and start shooting on the teacher’s signal.

Rules:

  • Each Player gets three shots

  • SHOT ONE: From inside the free throw line – worth three points.

  • SHOT TWO: Wherever you catch the rebound from – worth two points.

  • SHOT THREE: A layup – worth one point

  • After turn is completed, pass the ball to the next person in the line.

  • Groups add each player’s points to their total.

  • After two or three minutes the teacher calls the game and all of the group rotates to the next basketball hoop.

  • The scoring continues at each of the four designated hoops.

  • The goal is to get your team to score as many points as possible, though, as usual, the most fun wins.


Print Friendly, PDF & Email

Beanbag Slide Tag

Setup and Equipment:

  • Twenty – twenty-five beanbags are spread around the floor
  • Students are standing at walls of the gym to start the game
  • Guidelines:

  • The object of this game is to hit the other player’s feet by rolling the beanbag
  • Players may not run with a beanbag!
  • Students stay within the boundaries (black lines) unless retrieving a beanbag that is out of bounds.
  • On the teacher’s signal – students run into the playing area
  • Students may roll it towards the feet of another student
  • If a player is hit on the foot – they go to the “out” line (Having some mats set up at one end of the gym will work).
  • Players that are out – reenter the game when the player that got them out gets out
  • When students don’t know who got them out, they go to the “clock box” – the teacher will time them out for 1 minute or at which time – they may reenter game
  • When too many students are waiting to get back into the game, Teacher may call out “everybody free” and the game continues.
  • Print Friendly, PDF & Email

    P.E. Game: Chasers and Puzzlers


    Pajaggle Stacks

    Setup and Equipment

    • The class is divided in half.
    • One half of the class are the chasers and the other half is the puzzlers.
    • The puzzlers sit around the center circle in the gym.
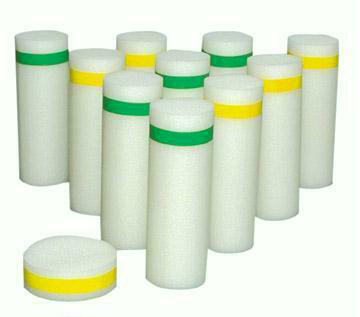
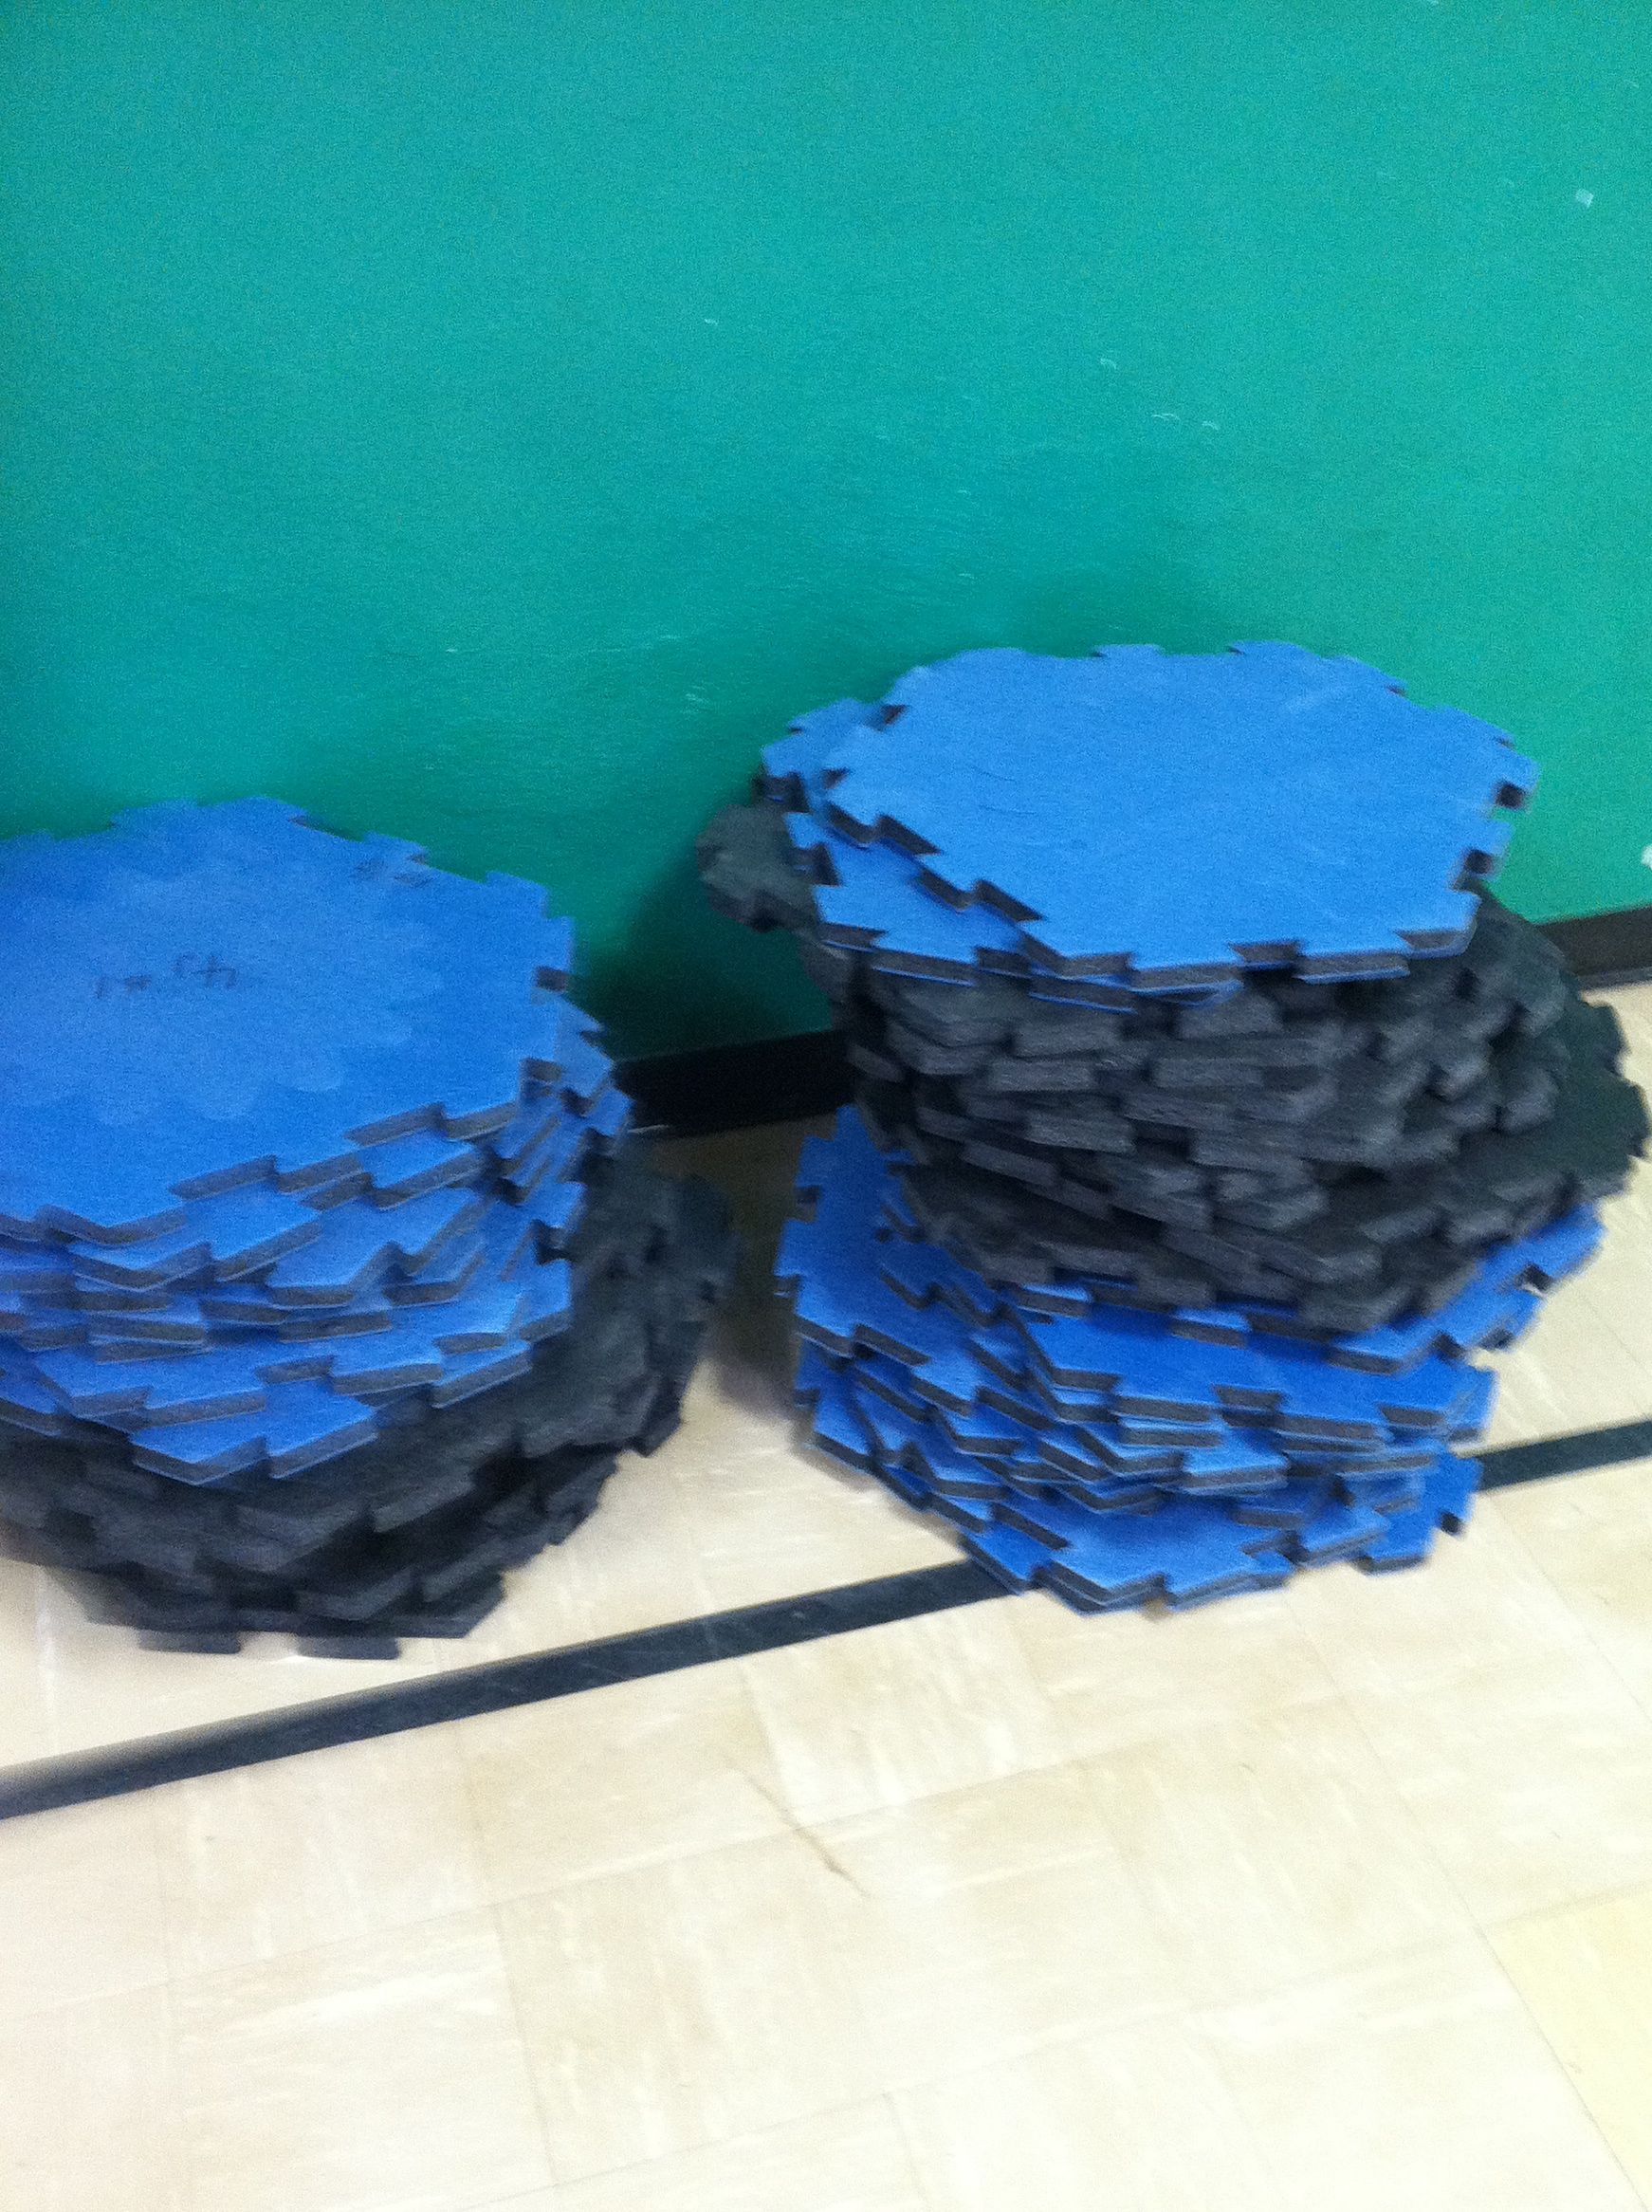
    • The pajaggles are set up at one end of the gym with the inserts taken out.
    • The chasers line up their relay teams, so they can easily pass beside the puzzlers in the center of the gym.

    Guidelines:

    • On teacher’s signal, the chasers run one at a time to pick up one piece at a time and hand it off to the puzzlers.
    • The puzzlers will begin to put the pajaggles together in one giant puzzle.
    • Chasers continue running until all of the pieces are in the center of the gym.
    • Puzzlers continue until the giant puzzle is put togeteher.
    • The teacher stops the time when everyone is sitting down and the puzzle is completed.
    • For a Challenge: Classes may compete against each other, to see who has the lowest score

    Visit the Pajaggle website for more information:

    Go to the Pajaggle Website for more information.

    Print Friendly, PDF & Email

    Capture the Targets


    Setup and Equipment:

    • Players are divided into two teams.
    • Each team has a different colored jersey.
    • The wall for each team has a gym mat in it, this is the “Cooler” for the opposing team.
    • Six foam targets are placed at each end of the gym (inside of a hula hoop). It works best if the team with the blue jerseys are retrieving the blue targets, etc.
    • The area between the wall and the endline is the designated safe area for opposing players attempting to retrieve their pin. Only one player from the opposing team may be in the safe area at a time.
    • The Object of the Game: Players attempt to remove the pins from the  opposing team’s endline and return them to their own endline.
    • The Game is Over: when all of the pins have crossed the line and are in their team’s safe zone.

    Guidelines:

    • Students are safe on their own side.
    • If a player crosses the center line they may be tagged by the opposing team.
    • Tagged players are frozen until a teammate reaches them and grabs their hand.
    • They both are allowed free walk-backs to their side, as long as they are holding hands and have their hands raised in the air.
    • Players that reach the opposing team’s targets are safe as long as their hand is on the pin and they remain behind the line in the safe zone.
    • If the player removes their hand from the targets, the opposing player may tag them and the target stays at that spot. The tagged player goes to the “Cooler”.
    • As soon as the target leaves the safe zone line the player may be tagged. The target is set down at this spot. The player who was carrying the pin, then returns to their side.
    • Only one player at a time may be in the safe zone. If two players are in the safe zone at the same time, they both must go to the “Cooler”.
    • A player that is tagged while carrying a pin must set the target down at that spot and go to the “Cooler”.
    • Targets may never be thrown.
    Print Friendly, PDF & Email

    P.E. Game: Ball Frenzy Games – Three Variations

    Soccer Frenzy – Ball Frenzy – Super Ball Frenzy

    1. Soccer Frenzy: Kicking only – Including Goalies

    2. Ball Frenzy: Throwing only – Goalies may use hands and body

    3. Super Ball Frenzy: Throwing and Kicking allowed. Goalies may also use hands and/or kick

    Setup and Equipment:

    • Twenty pins are lined up on the black lines in front of the opposing walls.
    • It works best to pick a couple of students to begin setting up the targets while the rules are covered and the teams set.
    • Break class into two teams. In our gym we have four teams (red, blue, yellow, green). So it’s pretty easy to put two teams on each side.
    • The dividing line in the middle of the gym cannot be crossed
    • Each team has twenty pins that are defended by goalies on their team.
    • Each team starts with an equal number of soft foam balls.(between 10-15 works well)
    • Players sit in front of their targets and wait for the music to start to begin the game.

    Guidelines:

    • The object of the game is to knock down all of the targets on the opposite  side of the gym.
    • The balls may be thrown or kicked, depending on which game you’re playing.
    • No balls may be knocked out of the air with a thrown ball
    • When a targets is knocked down, it works best if it is immediately put into the container that it came from.
    • Note: For K,1,2 they often choose to put the targets back up.
    • Players may switch on their team between protecting the targets and throwing at the other team’s targets.
    • If a goalie accidentally knocks over targets, they must stay down
    • Switch ends of the gym after all targets are knocked down.

    The Most Fun Wins!

    Print Friendly, PDF & Email

    Frog Pond

    Setup and Equipment:

    • Six groups of students are lined up relay style at one end of the gym.
    • Set a pail with beanbags at the opposite side of the gym.  Put the poly spots in a circle surrounding the the pail. Put the 5 point spots closest to the pail, the 10 point spots go next. The spots that are the most challenging are the 20 point spots which are placed the furthest out.
    • 20 points for yellow – 20 points for green
    • 10 points for red and blue
    • 5 points for purple- 5 points for orange
    • Each color team (6 teams) has it’s own beanbag and may only throw and retrieve that beanbag.

    Guidelines:

    • On the start signal one player from each team takes their beanbag to a spot and tries to throw it into the pail in center of gym. One foot may be on the spot and the the other foot must be behind the spot.
    • If the player makes it into the pail, they will pick up the poly spot and take it back to their team. If a player misses the pail, they just run and pick up the beanbag and return it to the next player on their team, then go to the end of the line.
    • Play continues until all of the spots are gone. Players may want to add up their points at the end of the game.
    • The most fun wins!
    Print Friendly, PDF & Email

    Offense/Defense and Walking Tag

    Find a partner

    • Everyone skips to the music, when the music stops, stand back to back with a partner.

    Offense/Defense Tag

    • One partner on each team sits down.
    • The partner who is standing is the offensive player
    • The partner who is sitting is the defensive player.
    • The object of this game is for the defensive player to stay within one arm’s length to the offensive player, so that when the music stops they are within one arm’s length of their partner.
    • The teacher designates a locomotor skill: Skip, gallop, slide step, power walking, jogging.
    • The offensive player will try to lose the defensive player.
    • The defensive player will try to stay within one arm’s length.
    • When the music starts, the game starts. Players are moving around the gym in designated manner. Let the music go for no longer than 30 seconds
    • When the music stops, everyone must freeze immediately and the defensive player will extend their arm to see if they can tag their partner.
    • Switch offense/defense positions every time the music stops.

    Walking Tag with Partners

    • This is a game where everyone is playing tag with partners at the same time.
    • Chose partners – One Partner: Raise hand. You will be “it” and begin walking around the gym.
    • Other partner: Close eyes and make three complete turns.
    • Open eyes and walk to try and find partner.
    • Students will tag their partner with a gentle tag on the back with two fingers
    • When a partner is tagged, students  switch roles.
    • After everyone has played for a couple of minutes, the teacher can give a reminder to the class that there are 30 seconds left, so if you haven’t had a turn in both roles, switch roles for the rest of the time.


    Print Friendly, PDF & Email

    Oompa Loompa Tag

    Setup and Equipment:

    • Oompa Loompa Music from Charlie and the Chocolate Factory
    • Golden tickets: Yarn balls will work
    • Four to five players are chosen to be taggers.
    • Taggers have the “golden ticket” and attempt to tag the other players.

    Guidelines:

    • When a player is tagged, they lean down and hold onto their ankles and become an Oompa Loompa.
    • Now, they begin to look for other Oompa Loompas.
    • The Oompa Loompas find each other by walking while holding their ankles.
    • When two Oompa Loompas find each other they hold their hands high and make a bridge.
    • When a third Oompa Loompa walks (while holding ankles) under the bridge, then all three of these players become free and return to the game.
    • Play continues for one to two minutes.
    • The next game starts after the “old taggers” hand their golden ticket (tagging ball) to the”new taggers”.

    Alternative Base: Set an area in front of each wall with cones about 10-12 feet apart and 3-4 feet in front of the wall. Students may rest for 3 seconds for a base. They can stay for 10 seconds if they move next to the wall for calf, hamstring or quad stretching.


    Print Friendly, PDF & Email

    Arctic Wind Hoops

    Setup and Equipment:

    • Each member of a Color Team (red, purple, green, yellow, orange, green) stands inside of a hula hoop that is the same color as their team (if possible).
    • Hula Hoops are spread around the floor.
    • Students move their hoops by making short steps from within their hoops.

    Rules:

    • The teacher calls out a color team and announces that this color team is the “Arctic Wind”.
    • This designated color team attempts to tag others by bumping their hoop into a different color hoop.
    • Once a hoop is tagged that student stands frozen with arms extended.
    • They may be unfrozen with a “high five” or a hoop tap from one of the teams that is not the “Arctic Wind”.
    • Each turn will take one-two minutes.
    • Continue until everyone has a turn.
    Print Friendly, PDF & Email